Last April, my students hacked poetry month with Makey Makey and Scratch. You can read about our experiences in Makey Makey Hacked Poetry Month, part two with more examples, and then try it yourself with this resource page. I loved this journey of hacking literature with Makey Makey, and when I interviewed David Saunders for our Challenge Based Learning book this summer and he mentioned making black out poetry interactive with Makey Makey and Scratch…..my immediate response was YES! An English teacher favorite “Blackout Poetry” hacked with Maker ed? That’s my kind of making and literacy connection! What follows is the way I co-taught this class with RHS teacher Katherine Myers. I wanted to post the whole lesson here since this was actually the first time our juniors were introduced to Makey Makey and all of our process for this awesome maker activity might not be evident.
Introducing Makey Makey
Once students sat down in our maker classroom area of the library, I thought it would be fun to play the video that led to my own personal Makey Makey obsession. When I watched this banamaphone video in 2013 I knew I had to have a Makey Makey. After sharing this example, I hooked my own poem up on this large post-it and played my example poem by touching the graphite blacked out areas.
Finding Poetry
Mrs. Myers and I didn’t want to go too far into how a Makey Makey works before having students “find” their own poetry. So after the initial example, we had them start looking for words that intrigued them. We had sections of discarded book pages on each table and we asked students to rip a page from a book and then deface it by circling or underling 10 or more words that interested them. (We have to make things interesting to get high school kids on board sometimes! )
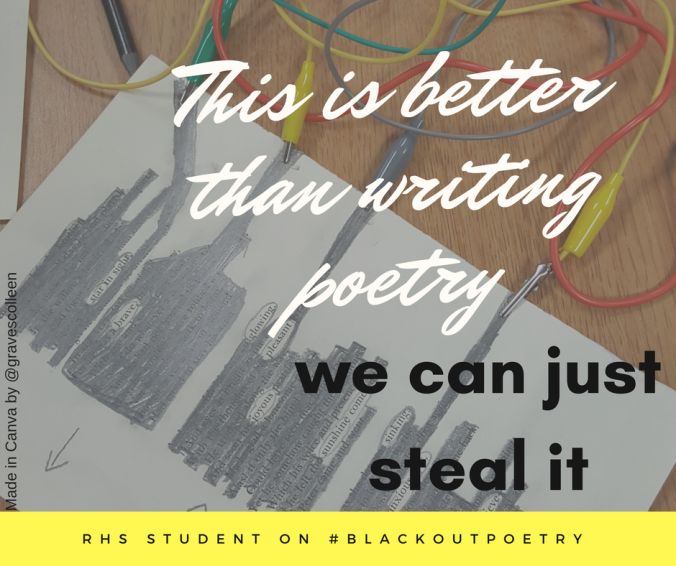
But, Mrs…. isn’t this plagiarism?
I loved this question. I told the students while it is okay to borrow and steal words and very short phrases from other authors, if they took more than 3 consecutive words then they’d be plagiarizing. The point is not only cut some words and the poem to still sound like the original poet’s work. The point is to discover intriguing words and re-use them for your own purposes. (Hmm…. sounds a little bit like hacking….)
After identifying words, we had the students re-look over the words that interested them and start to look for groupings of words and phrases that might make for lyrical poetry. I explained that they could use the words out of order since they are going to make it interactive, so they just needed to label the order they’d want to read their poetry. At this point, they were ready to start blacking out most of the original poem.
Explanation of How Makey Makey Works
After about 20 minutes of poetry making, I stopped students and had them open their boxes to explore the contents of the Makey Makey Construction kit. We talked about why test leads are called alligator clips (chomp chomp) and then I had them look at the front and back of the Makey Makey as I explained what a microcontroller is and why they are important.
Why should you care about microcontrollers? Because they control everything in your world. From a computer mouse to handheld calculators, to the display on your microwave. A lot of these electronic devices we are drowning in all have a very simple AND SMALL computer inside of it. And that microcontroller does ONE thing REALLY well. (I borrowed some of this wording from Shawn Hymel’s micro:bit tutorial!) So what if you could invent something that does one thing really well?
I showed the students were the microcontroller is located on the Makey Makey and then had them guess what the function is of a Makey Makey. (Most remembered the banana piano, some figured out it controls computer keys…..)
Testing and Drawing
Instead of telling them how to make it the blackout poetry work with Makey Makey, I wanted students to explore how to complete circuits on their own time. So we had a few examples handy of other student versions of black out poetry, but I told students I really wanted them to discover the information on their own. I even asked them, “Why do you think I want you to figure it out yourselves?” To which they responded, “So we’ll learn it! Duh, Mrs. Graves”
To explore how Makey Makey works, I had students plug in the USB, but not even sign into the computer or go to any particular webpage. I wanted them to see how to complete circuits just by using their hands, and then extending the key presses with wires and graphite drawings (I had 6B art pencils available at all tables.) Mrs. Myers and I noticed that this act of discovery and scientific learning in the English classroom kicked most of our students into hyper-engagement mode. The classroom atmosphere shifted and our students began testing, troubleshooting, and figuring things out. We gave them 20-30 minutes to test out blacking out words and making Makey Makey connections. One of my favorite aspects to learning circuits by drawing them was that the students could mess up and then erase their markings to fix mistakes. Such a safe way to fail forward!
Watch this student troubleshooting below:
Super Quick Scratch Intro
After most students had working circuits, I gave the kids a super quick Scratch intro and showed them where the “Event” palette, “Sounds” palette, and Sounds tab were located in Scratch. Again, I told them, here’s a little info, but really you need to figure out how to do it on your own. At this point the kids were invested and started moving around the library to find quiet spots to record their voices reading the different stanzas of their black out poetry.
It was a GREAT couple of days of process over product, and I’m so thankful Mrs. Myers loaned me her students. Now we are on to thinking about to incorporate Scratch into another ELA lesson while the learning is fresh!
Please enjoy some of our student’s work below. If you comment on Twitter, we’ll be sure to let them know you enjoyed it:
(This particular student above asked, “Why can’t every day of English class be like this?”
I loved how the student above was making this in our soundbooth while some of his friends were making music to accompany it. This made him perform it more like hip hop lyrics.
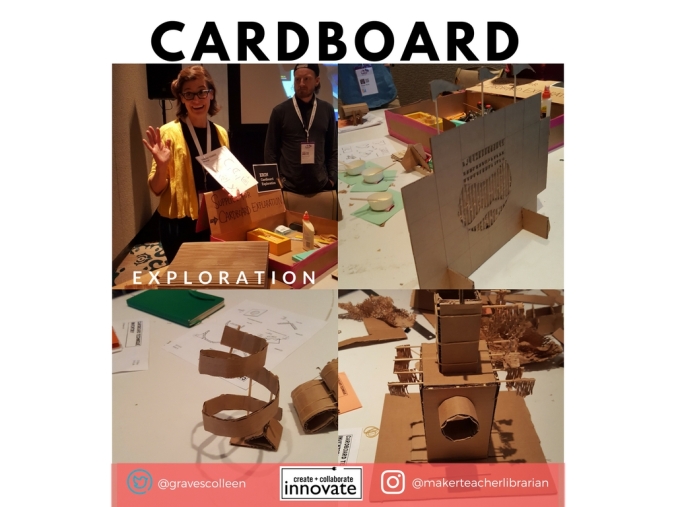
Butterfly Effect
Teachers are loving this idea that I shamelessly stole from David Saunders! I’ve got educators in Canada tweeting their iterations of this project and Michael Medvinsky is collaborating with others to make their own Poet-tree interactive display in his school library!
So how will you make your poetry interactive?
Want more Makey Makey Activities?
20 Makey Makey Projects for the Evil Genius (that I co-wrote with Aaron Graves) will be out next month!