
Some of my favorite catapults from the final day.
Around mid October 2014, Diana Rendina and I started chatting about getting our #makers together. We wanted our students to learn from each other. Through tweets and our first video conference we ended up with a design challenge. (I’d been dying to have one go well! Read my upcoming article in SLJ to hear my ups and downs with “Design Challenges.”) One of my students suggested a catapult challenge in our iWanna box, and when we mentioned it during our chat to the makers at Stewart MS, an amazing collaborative journey began. (Read Diana’s post about our Catapult Challenge at Renovated Learning. Her students ROCKED making “things that fling stuff!”) The catapult challenge was the first time I had to store longterm maker projects in the library and it wrecked our Makerspace room! There were rubber bands and popsicle sticks littering our space. I also knew that my maker supplies needed to shift OUT into the library. They needed to be visible EVERYDAY so more students would create with them.
Over the break, we were getting a new circulation desk and new tile flooring. Since I had to move a lot of books off of bookshelves for my new floor installation, I did a little redesigning and created a project shelf for our next design challenge- the #makeymakeychallenge. This empty shelf sits right next to our Maker station which rotates maker themes each month. We had a Student’s Rebuild bookmarking station to start and a folded book art station in December. In January I set up the maker station with our Makey Makeys and collected different materials for kids to sort into conductive and nonconductive items. During our Google Hang Out, Diana’s students challenged us to create a game on Scratch and design a game controller to use with our Makey Makey microcontrollers. On account of the amount of things that one can utilize with Makey Makey, I decided to put an Inventor’s Box filled with junk in the middle of our project shelf to help inspire young innovators (I learned during our chat with Jay Silver that this is called bricolage!)
Nowhere for projects = MESS
I also took this time to move all of our #makerspace supplies out into the library and my student aides helped me organize them in a Harbor Freight parts rack and we put more expensive equipment on an empty shelf we moved behind our circulation desk. (More on this in a post on library redesign and makerspace organization coming soon.) Before I introduced the design challenge on the first Maker Monday of 2015, I set up the Makey Makey as a banana piano on our new circulation desk and all of the kids thought it was really, really cool. But how was I going to get them to get beyond the banana? Every day I played around with other materials and demoed different games at the circulation desk. (Seems weird, but our circ desk is like a hangout. Our students love to hang out here and chat with other student volunteers behind the desk, so it’s the perfect place to showcase new ideas!) To start the challenge, our Maker Monday focused on a Chasing Game Challenge to control with Makey Makey. Ideally, I should have taught my students Scratch in December, but we were busy making folded book art. So I decided to go for broke and teach Scratch and introduce Makey Makey to them at the same time. Many had done Hour of Code the May before, so they already had their coding feet wet. I had about twenty students show up and they started creating their own games, but weren’t too interested in the Makey Makey yet.
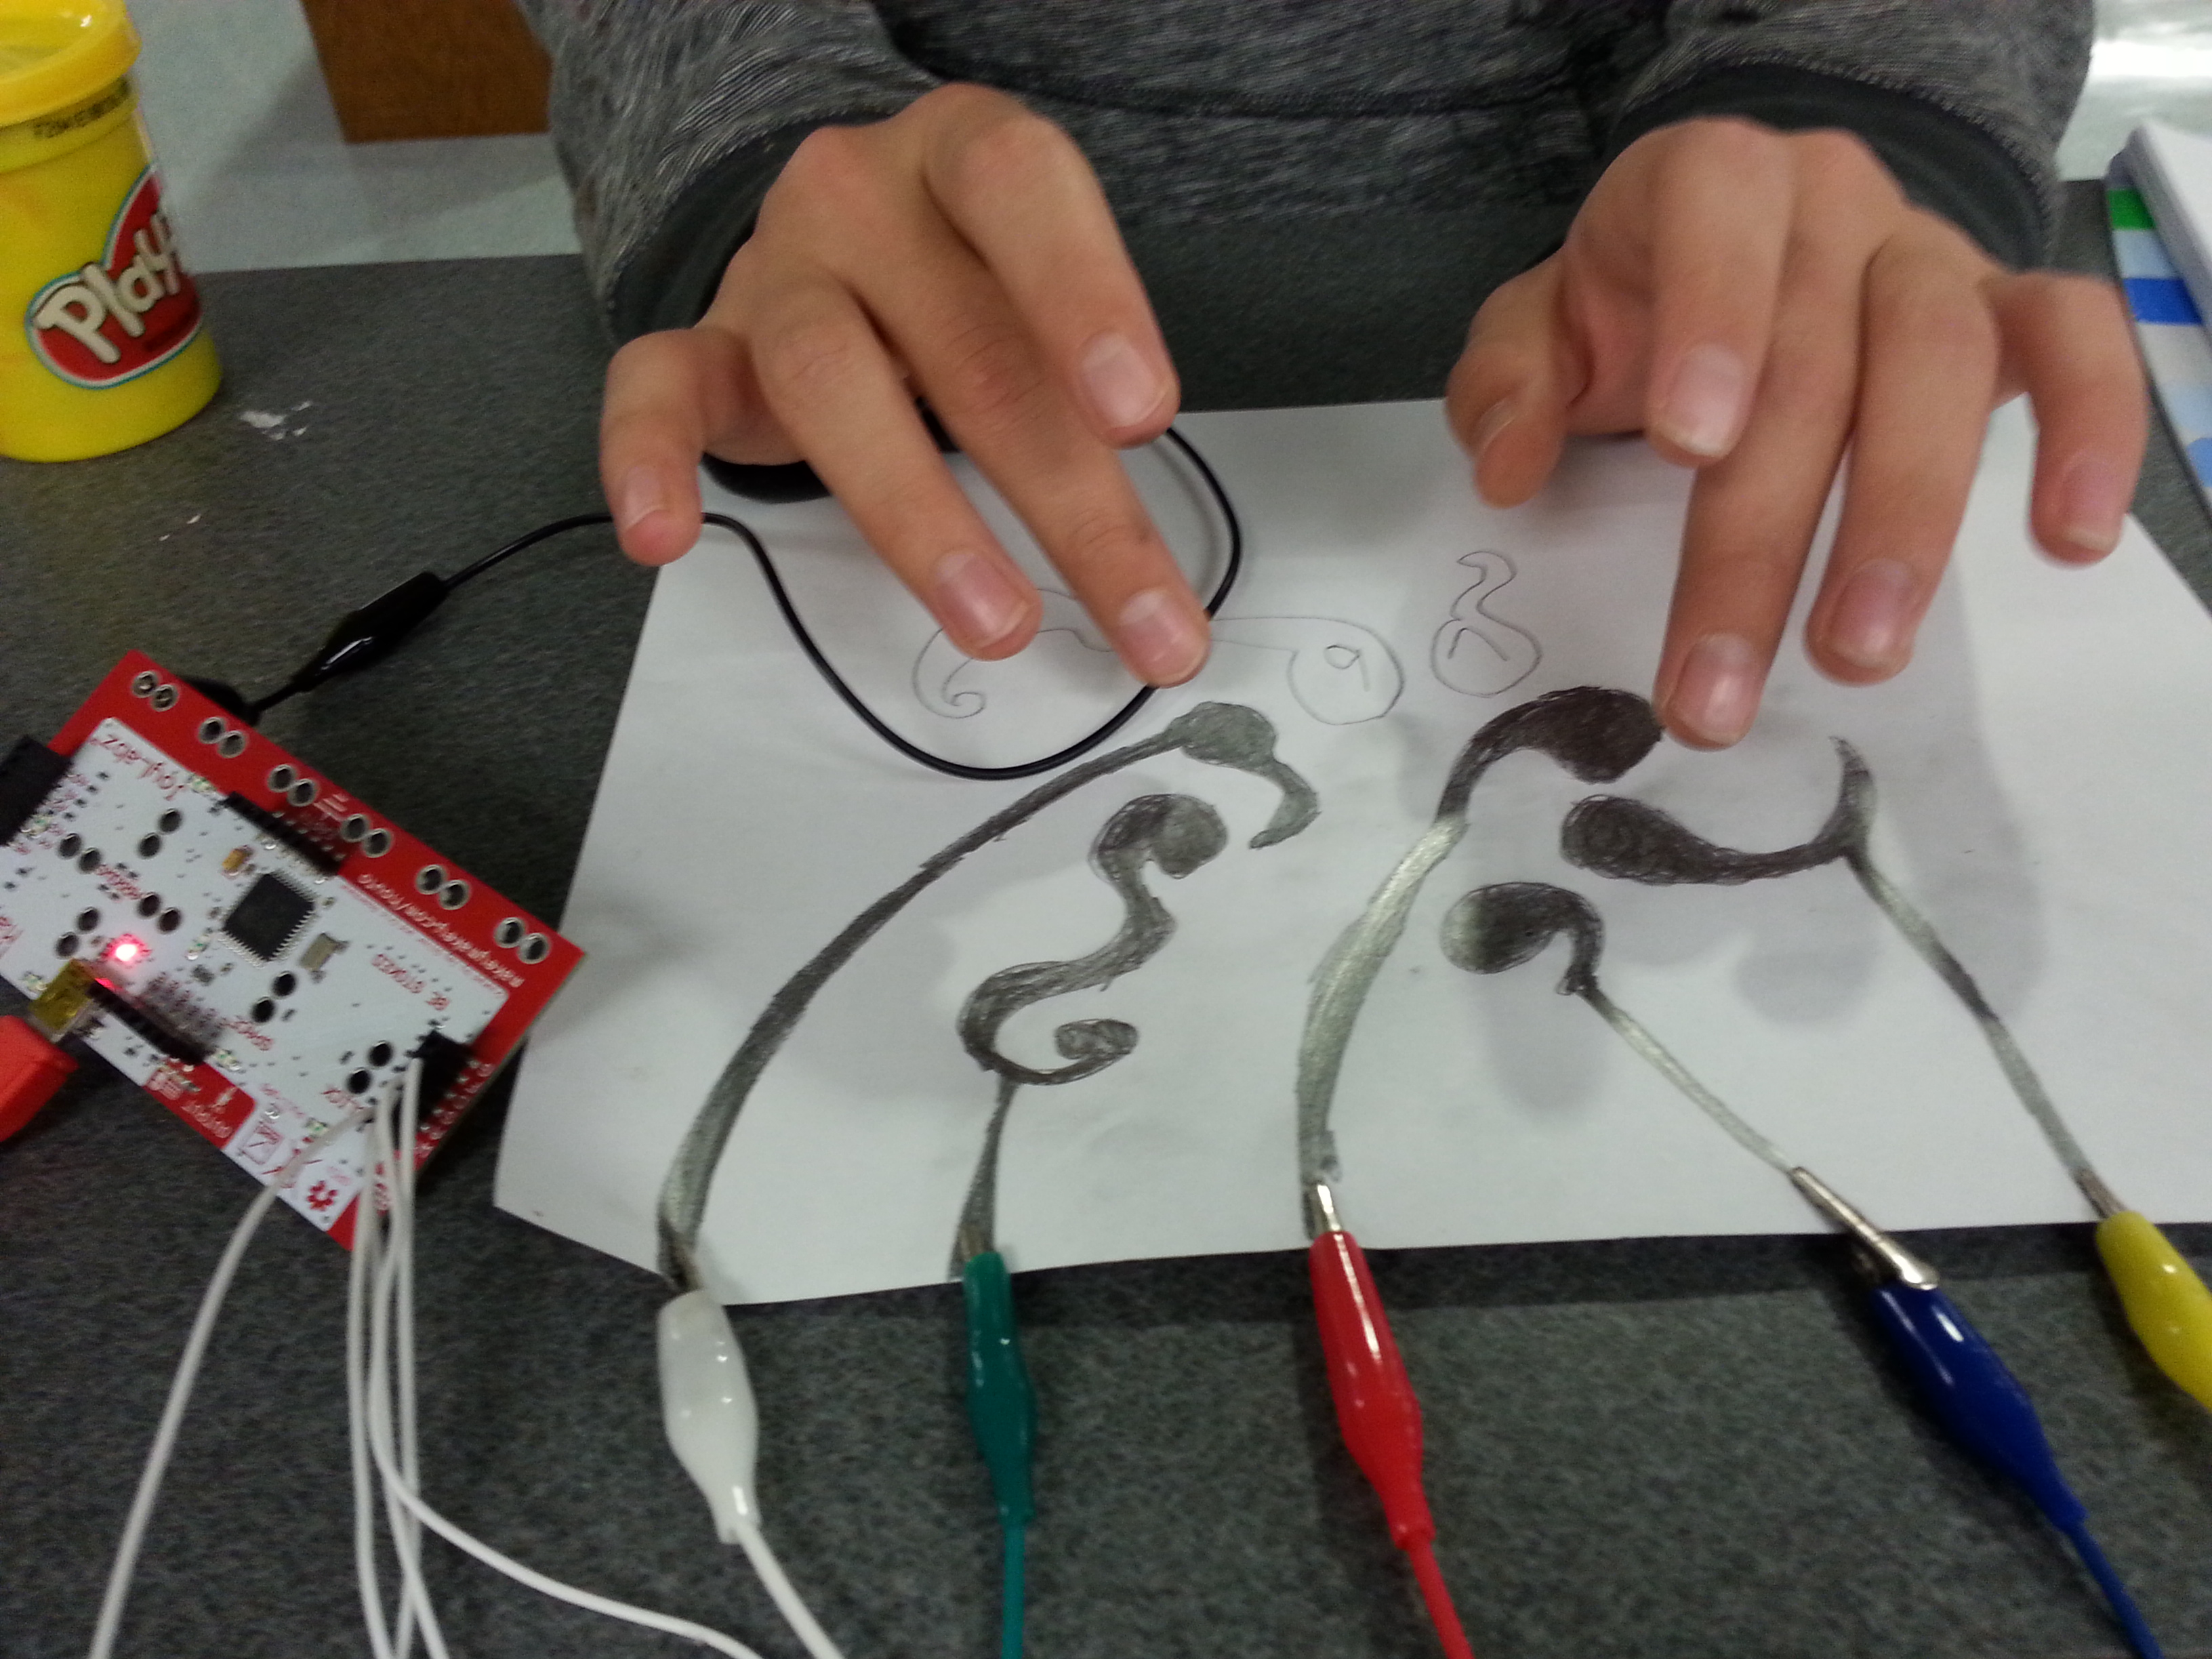
Demo of Playable Graphite Drawing
I still needed to hook them into the idea of controlling the computer with everyday objects. I needed more kids to see what they could do with this everyday invention kit. Two boys fell in love with a weird old gaming pad I found when we created a “Space Banana – Click Banana” Vine, so I created a flyer from this experience to hang around the school: #Makeymakeychallenge flyer. The makers were really starting to get into Makey Makey; however, my students still weren’t really attempting any real tinkering. I decided we had to get rid of bananas totally, so I set up a playable pencil drawing to get them thinking beyond the banana. I also talked the guys over at The Joy Labz into a video conference in the upcoming weeks, and I needed our students to prepare questions for this chat. I wanted our next Maker Monday to stand out, so I set out Scratch cards, marshmallows, gummy fish, twizzlers and an “Invitation to Innovate.” We played, we created, and we started generating questions for the makers of Makey Makey.
 This event got more students involved and they began making pretty complicated games in Scratch. Our students have the ability to use our Makerspace before school, during study skills, lunch, and advisory. This extra time during the school day allows them to come in and brainstorm One student even checked out a Makey Makey and took it home to create his controller out of Legos. A girl began to see an old telephone as a gaming device. My students began to tinker with creating different objects as gaming devices AND creating games specifically for our event. I wanted to make sure the whole school knew they had the ability to chat with the Makey Makey team from MIT, so I created this promo for students to watch during advisory and put a sign up on the library door:
Promo
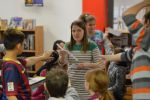
We chatted on February 2nd, and it was amazing and inspiring! Jay, Liam, Todd, Rachel, and Dave are so down to earth and awesome for conferencing with our students! They did a great job talking to the kids on their own terms and answering their questions in a way that the kids not only understood, but helped instill “creative confidence.” Now our students are building, problem solving, and innovating! I edited out the reverb and lag time from the chat, so please watch the inspiring video conference below to learn from these amazing inventors!
Chat w The Joy Labz
-
- Passing out questions
-

- Connecting w Makey Makey
-

- Chatting with the Joy Labz
Organizational tip: I learned from my 8th grade English teachers last year when we Skyped with Claire Legrand, that chats go better if you print the students’ questions out ahead of time. So I pass out questions before every chat, and then make a clear path for students to come sit in front of my computer!
-

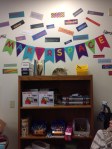
- Project Shelf- Before
-
- Project Shelf- During
-

- #makeymakeychallenge
-
- Creating and Collaborating!
-
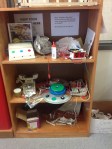
- Makerspace Storage Bulky (Arduino Kits, Hummingbird kits, Raspberry Pis)
-
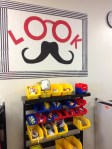
- Kits on Parts Rack (littleBits, Makedo, Snap Circuits)
In the next few weeks, the students will be bringing in their final #makeymakeychallenge products. With these projects and other things we’ve already made, Lamar Library will be hosting our first ever Mini-Maker Faire! We are also going to Skype with the #makers at Shawna Ford’s library to showcase our Makey Makey game controllers and hopefully spark their interest in their own #makeymakeychallenge!
Follow our #makered journey on Twitter, Instagram, and Vine!
I’ll be posting their final design challenges soon, so check back often!
Final Design challenges are in! Check them out on this Tackk!

