Chibitronics Paper Circuits, #CircuitGirls, and Aiding #Girlsintech

ColleenGraves chibi review1

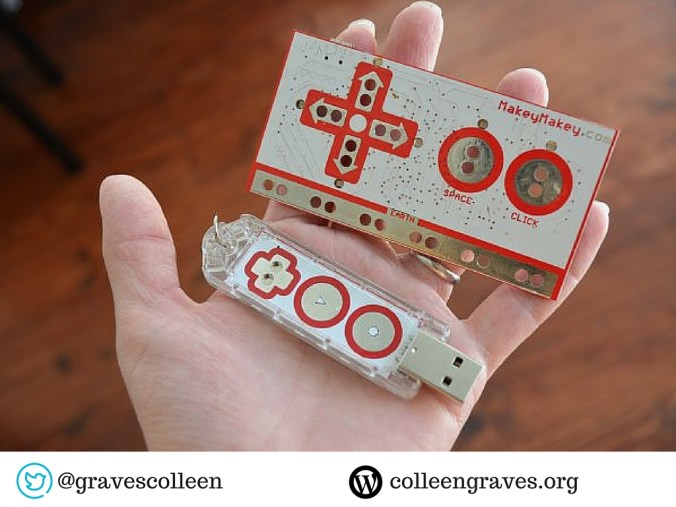
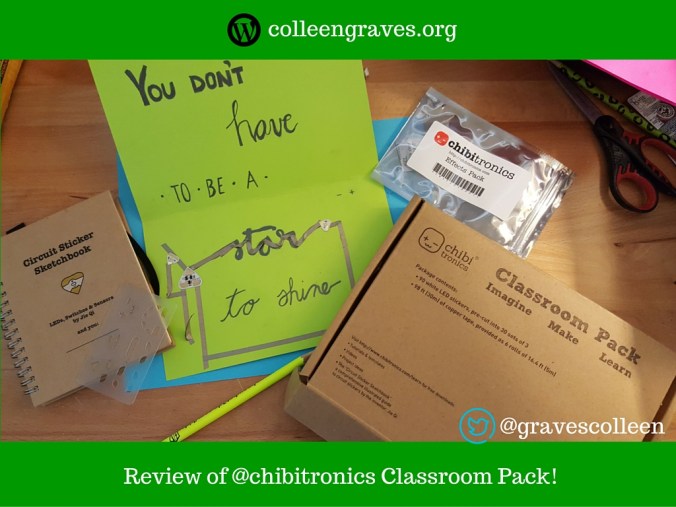
Chibitronics Classroom Pack Review

Whoa! This classroom pack from Chibitronics is the best thing since sliced bread! It has 90 LED circuit stickers and 6 rolls of super skinny copper tape!

If your students worked through the STEM Starter Kit, then this would be an excellent way to get them to start designing their own circuits! This is also an excellent tool to run a paper circuit workshop even if your makers haven’t used the kit since Jie has most of the templates available at Chibitronics for free!

While you can use regular LEDS to make paper circuits, I love how easy Chibi stickers make crafting your own paper circuitry. Plus, they lay flat so it’s easier to make art with them. (I love combining paper crafting and circuits for the ultimate STEAM activity!)

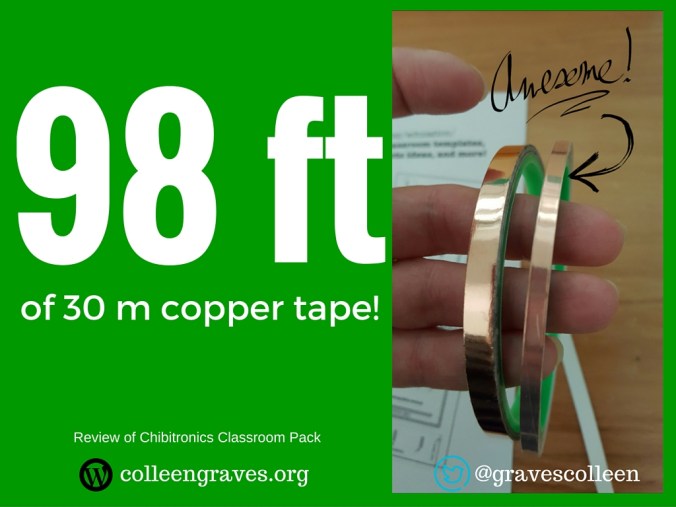
My favorite thing about the Classroom Pack are the super skinny rolls of copper tape. For the last two years, I’ve been telling my students to cut their copper tape in half. This skinny tape is much easier than that extra step, plus it’s easier to lay smooth and fold corners. You can see in the pic below that the tape on the right is half the width of the tape on the left. Plus, since the pack comes with 6 different rolls, you can set out a roll of tape for 6 different tables of makers!

ColleenGraves chibi review2

I can’t wait to do some paper circuits with my students this month at Ryan Library Makerspace!

Chibitronics Effects Pack

I also bought the effects pack and had a great time tinkering with ideas for my May-ker Display I’m working on for the last library display of the year. Pretty sure I’m going to have to write up a Donors Choose grant to get a bunch of these packs for my RHS makers!

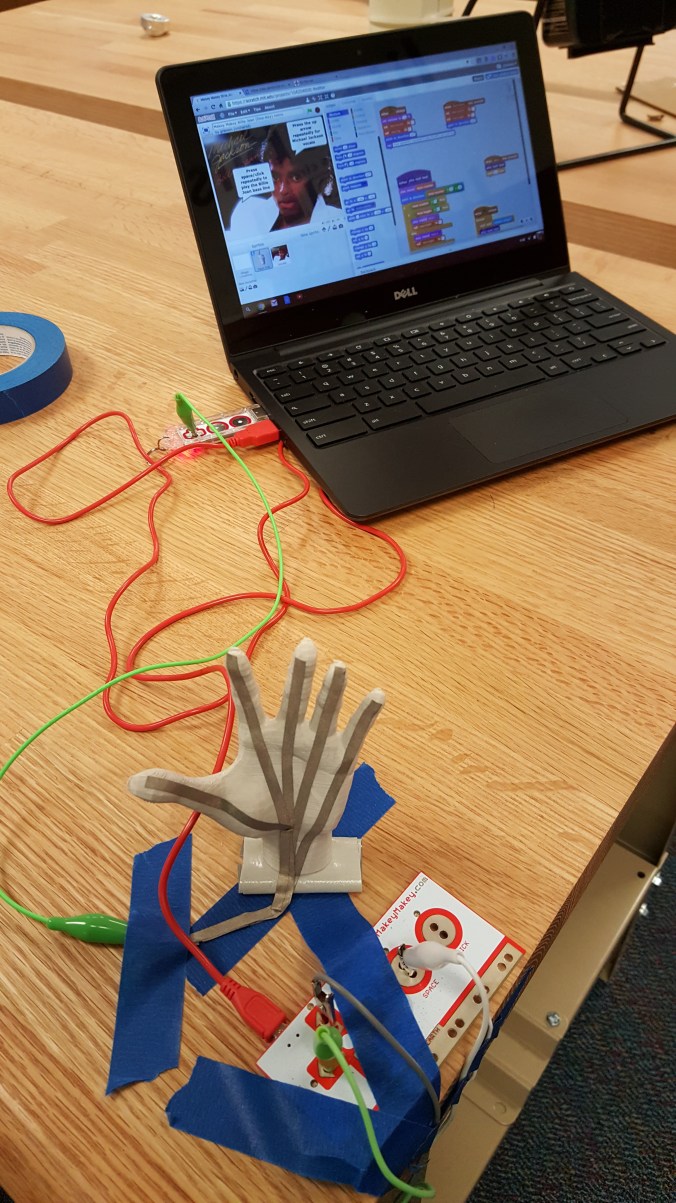
Note: I didn’t really have any direction for this paper circuit project, I just knew I wanted to use my new effects pack and creative lettering techniques from this book a student requested for the library. My 5th period aide came up with the quote, and I decided to use my Makey Makey soft conductive tape so I could make a circuit through the lettering. Then for the “night time sky” I attempted some constellations and used the awesome skinny tape from the Chibitronics Classroom Pack. The effects stickers are just plain rad and it didn’t take me long to design a working circuit, but that’s probably because of all of the Lilypad Arduino projects I’ve been working on. I probably wouldn’t introduce this effects pack and this concept to my makers at RHS until they’ve designed many of their own working paper circuits!

My History with Chibitronics

I started using Chibitornics notebooks last year when I realized that I needed to “make” room for girls in my makerspace at Lamar. I wrote a Donors Choose grant and was able to start a girl’s tech group called “Circuit Girls.” Every week for the rest of the semester, the girls and I learned about circuitry by creating circuitry art in Jie Qi’s awesome Circuit Sticker Sketchbook. We learned about simple circuits, parallel circuits, and even DIY Pressure sensors. Jie is so awesome she even has these templates available for free on the Chibitronics site! Plus, I love Chibitronics Circuit stickers so much, I’ve included an entire chapter on Paper Circuits in The Big Book of Makerspace Projects using Chibi stickers as supplies. (I can’t wait for you to see these templates with Aaron’s art! If you look close on the cover, you’ll spy one!!)

The Circuit Girls are Lamar were also my first Donors Choose recipients. Normally, it is hard for a library to budget for consumables. For this reason, I crowdsourced our funding so each girl could take home their circuitry notebook at the end of the school year. One of my favorite things about this was that it not only shared what we were doing at Lamar, but the girls would use their new knowledge to create their own light up thank you cards for our donors. Here are a few of their examples:

At the end of the year, I was happy to hear the students enjoyed Circuit Girls as much as I did! I’m also happy to know that the Circuit Girls are still alive and kicking with the new librarian at Lamar, Kristi Taylor.

Kristi’s Circuit Girls Promo for this school year:

So now you can see a little about why I love this light up notebook.  It’s a great way to get girls involved in STEM.

Whenever I host a workshop, I share Chibitronics templates because paper circuits are an excellent way to learn about circuitry! Then students can go even further by learning to sew circuits, and even further by exploring Arduino microcontrollers to create soft circuit wearables or stuffies. (Yep, we have a chapter dedicated to sewing circuit projects in our book too!)

At my high school, I’m getting girls involved in STEM by running #GirlsinTech camp. This way Kristi and Lamar can hold onto the Circuit Girls hashtag and track their fun. I’m not having weekly meetings yet either as the best way for me to get girls involved is to host afterschool camps that I schedule ahead of time. I’m hoping next year that we can get a weekly club going. During our 1st camp, we tinkered with paper circuits and chatted with Jie from Chibitronics, check out the video below for excellent tips from this artist engineer on paper crafting.

I’ll be speaking more about getting girls involved in maker programming at ISTE this summer! So come check that out too!

Disclaimer: I did not receive any funding or endorsement for this review. Chibitronics sent me this pack after seeing multiple posts on Twitter about my love of paper circuitry!

Review of Makey Makey Go and Inventor Booster Kit

MakeyMakeyGo

Makey Makey Lessons

If you read my blog then you know I love all things Makey Makey!  While I was writing Makey Makey lesson plans last summer, I was super stoked to hear the announcement of their Kickstarter campaign for the super portable Makey Makey Go. Mine came just in time for Christmas, but unfortunately, I had to hold off on tinkering with it right away because Aaron and I have been busy working on projects for our upcoming book deadline. We’ve finally had some time to work out a few projects with the Go and I am in LOVE with it!

Makey Makey Go Experiments

The first thing we did with the Go during our family maker time was use it with our vintage Operation game. Who needs D batteries when you have a Makey Makey Go? My children had fun picking a sound for the simple Scratch program that would alert the computer every time a player performed a “bad” operation.

I’m not going to lie though, I didn’t understand Makey Makey Go at first. The first thing I tried to was trigger a selfie while eating a donut. That didn’t work for me though because I was using it wrong!  I’d lost the instructions, so I did a little research and found this review by Geekdad and that’s when I realized there were a couple of very important settings on this super simple maker tool! Check out the super clear instructions available online here.  The Go always has two settings: If the end is blue, it is programmed to mouse left click. You can tap the gear wear to set the Go to space bar and the end will turn red so you are aware of the setting. Plus, you can easily remap your Go space key to any key by going to http://makeymakey.com/remap/ . (However the left click option always stays left click!)

How Does Go Work?

So how does it work? The Makey Makey Go senses the object’s electrical capacity and when you touch the object you add electrons to it which tells the Makey Makey to GO! So it only works with conductive objects much like the original Makey Makey. However, it functions in a completely different way! With the original Makey Makey you (or a banana) complete a circuit to activate keys on your computer.  So when I attached the donut while I was holding it, I wasn’t changing it’s electrical capacity BECAUSE I WAS ALREADY HOLDING THE DONUT. Plus, eating the donut wasn’t going to add any electrons…. doh!

The Go is a pretty amazing little invention. After just a few short weeks of tinkering, I have a whole new understanding of capacitive sensing.

But let me tell you about something else I really love that came with this kickstarter…..

Makey Makey Inventor Booster Kit

Oh, Makey Makey Inventor Booster Kit, where have you been all my life? This inexpensive kit makes inventing with Makey Makey a breeze!

The Booster Kit comes with a piece of conductive fabric, a super long alligator clip, a super long hook up wire, and my absolute two favorite items in the kit…. wait for it…..

A MAKEY MAKEY optimized PENCIL?!?!? Goodbye, bananas, hello graphite!

Plus a roll of super cool conductive tape that reminds me of fabric! You can’t tear it, so it’s much sturdier than copper tape. I found this tape right after finishing my chapter on paper circuits. While I do love copper tape, this conductive fabric tape is THE BOMB!

I envision buying one of these packs to go with every Makey Makey at my library. How cool would it be to check out Makey Makey and let patrons use this Booster Kit?

So what else have we made with it???? Well, that’s kind of a secret.

Beyond the Banana

We had a lot of fun inventing projects for the awesome Makey Makey original and Makey Makey Go in our  upcoming book “The Big Book of Makerspace Projects.” We know you’ll have fun making those projects, but since I can’t share them yet, I worked on this wacky interactive at Ryan Library to include with this review.

Tweet: Go #beyondthebanana with #makeymakey ! #Makerspace resource: http://ctt.ec/U9jb6+ via @gravescolleen

While I was researching Makey Makey Go apps, I stumbled upon Jay’s remix of Eric’s remix of Michael Jackson’s Billie Jean. It’s getting rather late in the school year and our high school students are getting a serious dose of “Senioritis.”To combat senioritis, I worked on creating this MJ display in hopes to motivate my young makers to create their own Makey Makey invention. This interactive relies on pressure sensors that activate when a student “moonwalks” on this moonwalk tutorial foot display. As you dance, the song is played by Makey Makey and Scratch.  I utilized the extra long jumper wires, long alligator clips, and conductive tape to make this happen!

Figuring out how to portray the moonwalk with footprints was the most difficult aspect of this project. Although, making pressure sensors on the floor took me awhile to brainstorm as well. How could I make sure the switches weren’t always touching and activating?

This slideshow requires JavaScript.

Later in the week, a teacher 3dprinted a hand for relay practice, but the hand was too small. So I thought…. hmm… how could I use this with my Michael Jackson Makey Makey interactive? I brought out the conductive tape and attached the hand to the table with a piece of rolled duct tape. Then attached the “Go” and remapped it to play the left arrow key.

The students think this is pretty funny and are baffled at how it works. It’s been fun explaining it to them and I hope they get inspired to Makey Makey their own thing!

What would you create if you had Makey Makey Go?

wp-1460666048376.jpg


My Makey Makey Interactive hacked with Makey Makey Go!

Cool Project Ideas

More cool Makey Makey Go projects: from other makers


Disclaimer: I did not receive any funding or free swag from Makey Makey for writing this post. I backed the Kickstarter and bought myself and my peeps 3 Gos and the Inventor Packs.  I plan on buying many more for next year to get my students experimenting with building games and hopefully apps!