I bought a Gemma last summer after playing with Arduino, and unfortunately it sat in my Arduino tackle box unused the whole year. For some reason, I couldn’t find a project that didn’t require soldering.
Then I started looking up e-textile sewing projects on sparkfun.com and found the Lilypad I’d heard so much about. I bought a simple Firefly Jar kit and finished my first sewing circuit project in under an hour!
My first etextile how to thx to awes @sparkfun #lilypad kit! I’ve been wanting to sew circuits for the last year! https://t.co/ANBdpex55j
— Colleen Graves (@gravescolleen) March 22, 2015
https://vine.co/v/OYHiMDj0bFq/embed/simple
I had so much fun that I checked with my local teen librarian Dana Tucker to see if she’d want to collaborate on a wearable class this summer. We decided to make E-textile cuffs based on a lesson I found in Dr. Peppler’s Soft Circuits book.
It is a great resource for others who want to teach kids and teens how to sew circuits: Soft Circuits: Crafting E-fashion with DIY electronics by by Kylie Peppler and Melissa Gresalfi.
The night before I got really nervous about teaching the class and had a lot of self doubt that we could pull it off.
So how did it go?
It was amazing! Because collaborating with others makes things flow more smoothly. Dana Tucker did a great job! She pre-cut the felt into cuff size, she had hot glue guns at the ready, a great array of notions for adding embellishments to projects, and she brought in an assistant who has a great working knowledge of sewing.
We made copies of circuit diagrams, showed the kids my original project, and told them to design their own light-up wrist cuff.
Many of them were like, “What are we going to make? I don’t even know where to start?” I wish I could say they spent time drawing out designs, but it just didn’t go down like that.
Instead, I pulled out some felt and started adding notions, and told them, “Just get started. Start adding stuff and see where it takes you.” From that point on the girls got really quiet and started making and crafting. They plugged in their headphones, or chatted quietly and started designing. One girl made a bracelet declaring her love for her favorite show, another made one based on her favorite band, while a third made many bracelets about her favorite video game “Legend of Zelda.” A young boy came in and wanted to join in. We welcomed him and let everyone craft for about an hour.
When it came time for sewing circuits, I realized the diagram I gave them was too technical for them. So I walked around and spent a few minutes describing to the students how electricity flows in a loop and then had to create a loop with the conductive thread. Many of them stared glassy eyed at me.
Then I realized, if I put the components on the diagrams, it might click for the kids.
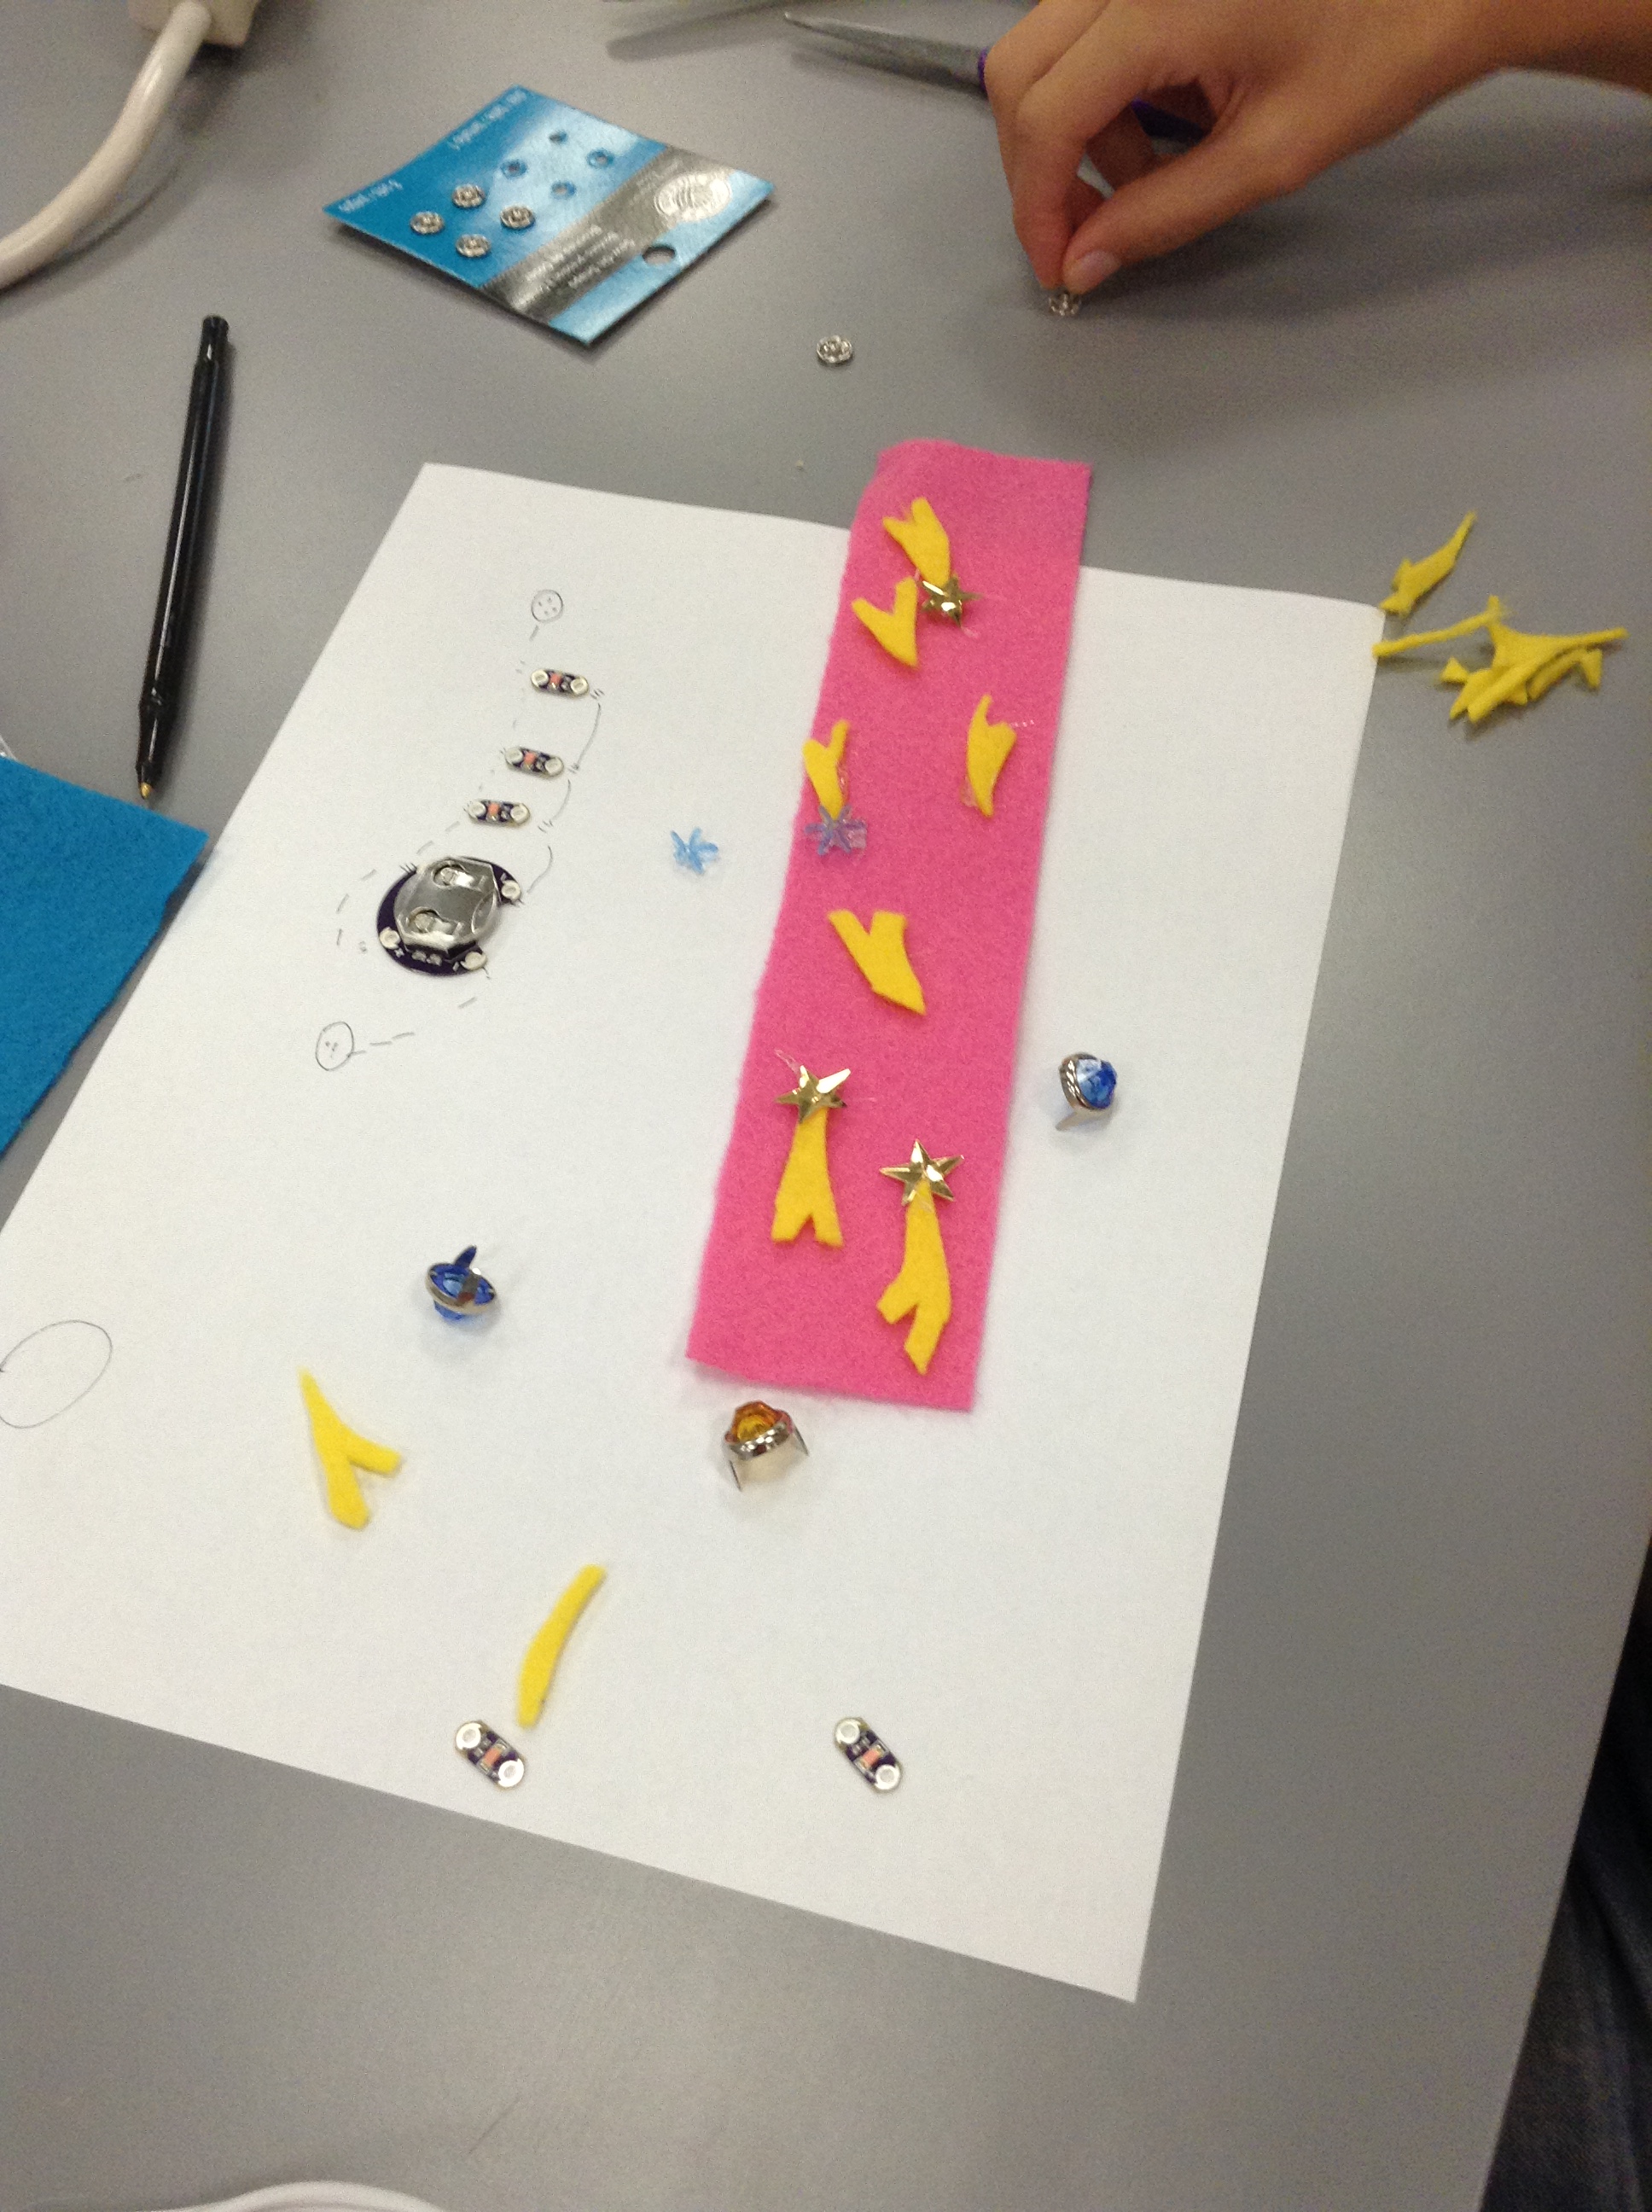
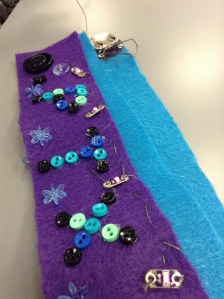
Bracelet next to diagram
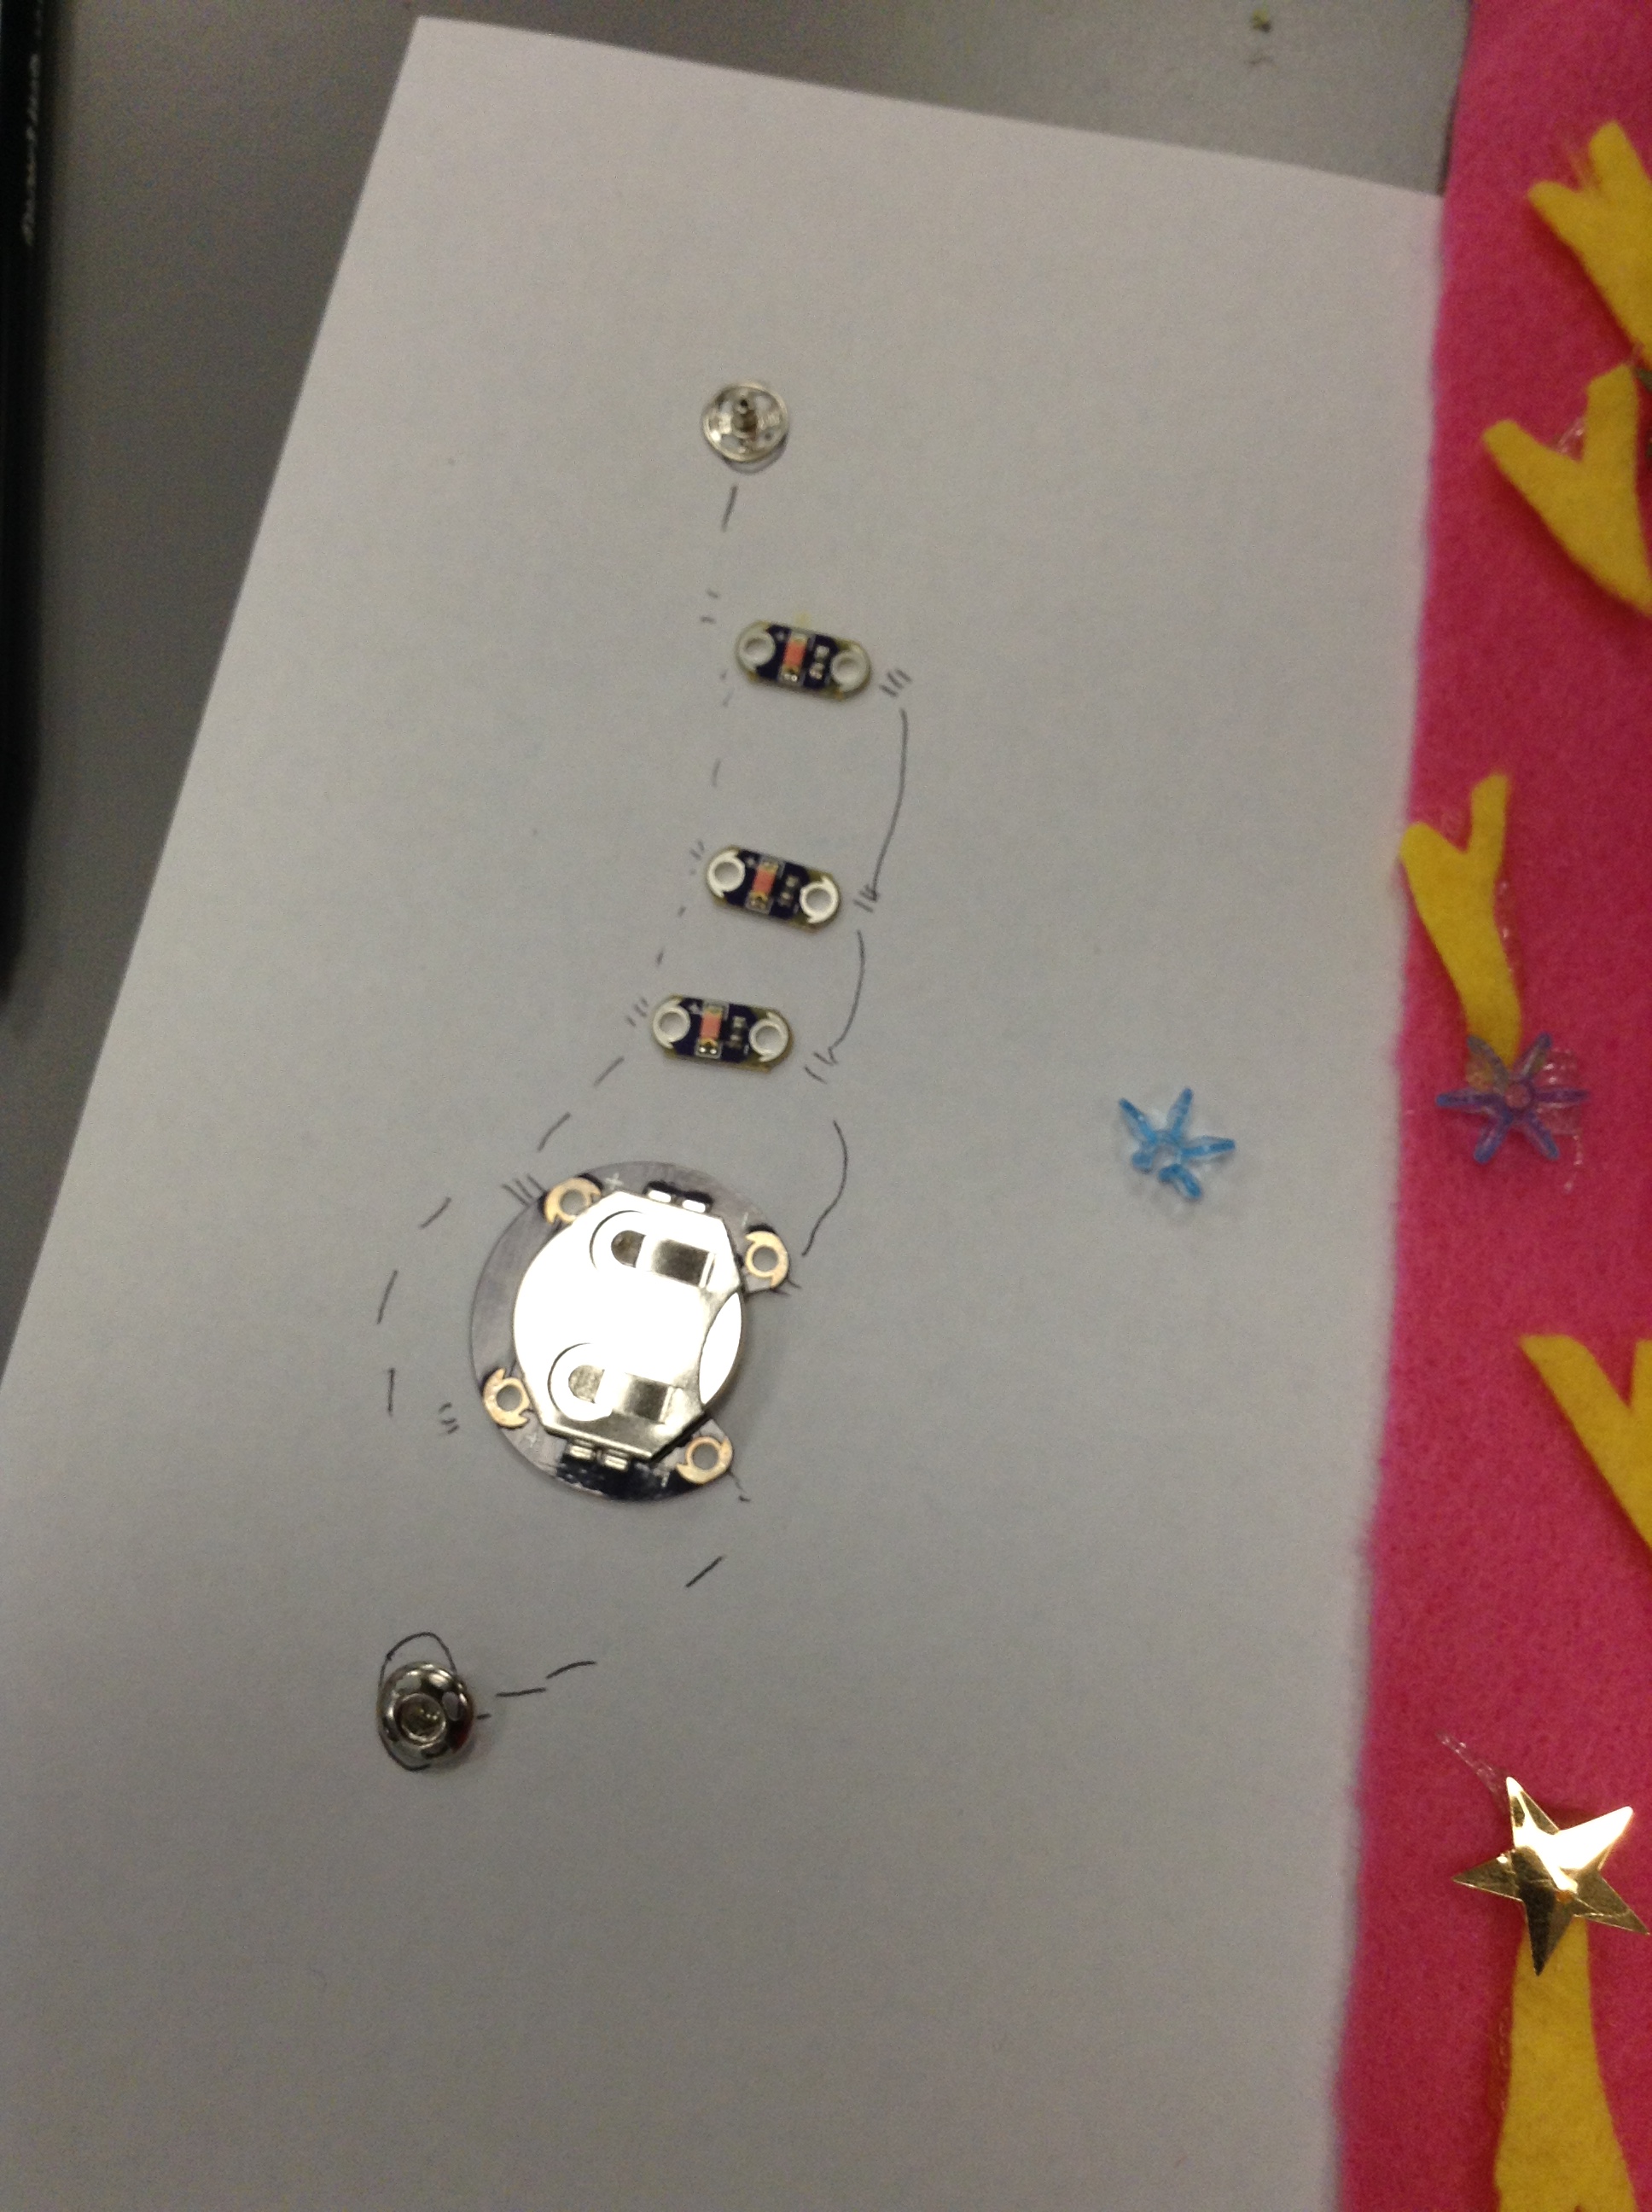
Close up of diagram with components
They got busy sewing even though many had never sewed before! Imagine your first sewing project as an e-textile?!
I could tell that many really didn’t understand the concept of electricity and circuits UNTIL their project didn’t work. At which point I explained again how the electricity needed to flow in a loop and none of the negative threads could touch the positive threads or they would get a short circuit.
And that is what taught them the concept. Having a need to understand the concept in order for their project to work.
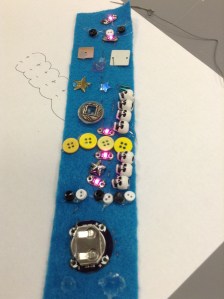
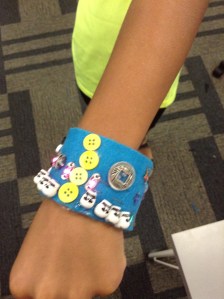
Here are some of their finished products:
-
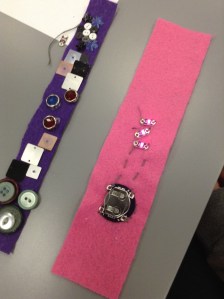
- Under the hidden circuit bracelet
-
- Parallel Circuit diagram
-
- 4th Grade Boy Band
-
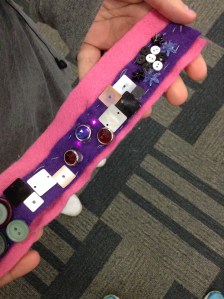
- Hidden Circuits
-
- Pentatonix
Thoughts on our process:
- Kids struggle with unclear guidelines- and that’s good! Let them struggle even though the first few minutes are uncomfortable. It teaches them to problem solve and think for themselves. The participants only spent a few minutes complaining that they didn’t know what to do, but once they realized we weren’t going to do it for them, they got busy coming up with ideas.
- Teaching circuits is actually pretty easy, but kids need tangible evidence that something is happening. Sewing circuits can be pretty expensive, so try paper circuits if you want to try this same thing, but don’t have the resources for Lilypad electronics.
- Collaborating is the best- this workshop would’ve fallen apart on my own. I need Dana’s public librarian experience- she had just enough stuff for kids to sort through and create masterpieces. A box of felt from Scrap Denton and cool notions she found there let each kid have their own voice and confidence to create. I also needed Maybeth as a sewing expert. The kids got pretty needy when it came to making running stitches and it was great to have her assistance. We also had the technical library Trey on hand to help us think about our circuit diagrams.
- This workshop was a blast. I can’t wait to write a Donor’s Choose grant and get my new Circuit Girls sewing circuits!
- I’m still thinking about the workshop, so I’ll probably come back and add more thoughts to this post soon!

Pingback: Partnering with the Denton Public Library – Soldering Workshop | Create, Collaborate, Innovate
Great work, Colleen. I’m considering a similar (well – almost identical, actually) project in February. It looks like you are using the Lilypad LEDs (from Sparkfun or Adafruit). At 60-75 cents/ea those can be pricey (yes, I can be cheap), but I suspect that hand-sewing regular LEDs will just add complications to a project that will already be pressed for time. I see some generic varieties of the Lilypad LEDs available, but not sure if they can get here on time.
Thanks for sharing your results! – Patrick
LikeLike
You can sew with regular LEDS, but may have to add Ohm Resistors. Here is a great tutorial from Sparkfun: https://www.sparkfun.com/tutorials/281
LikeLike
Pingback: New Here? | Create, Collaborate, Innovate
Pingback: A school library makerspace with Colleen Graves | Library as Incubator Project
Pingback: Meet the Maker: Colleen Graves - chibitronics
Pingback: An Intro to Sewing Circuits Affordably | Create, Collaborate, Innovate
Pingback: Resource: Hacking Poetry with Makey Makey | Create, Collaborate, Innovate
Pingback: Programmable Paper Circuits at ISTE with Chibitronics | Create, Collaborate, Innovate
Pingback: Review of LilyPad Sewable Electronics Kit | Create, Collaborate, Innovate