
Top 10 Most Popular Posts for Readers
These are the most visited posts written during 2016!
- A Library and a Makerspace: It’s not an either/or
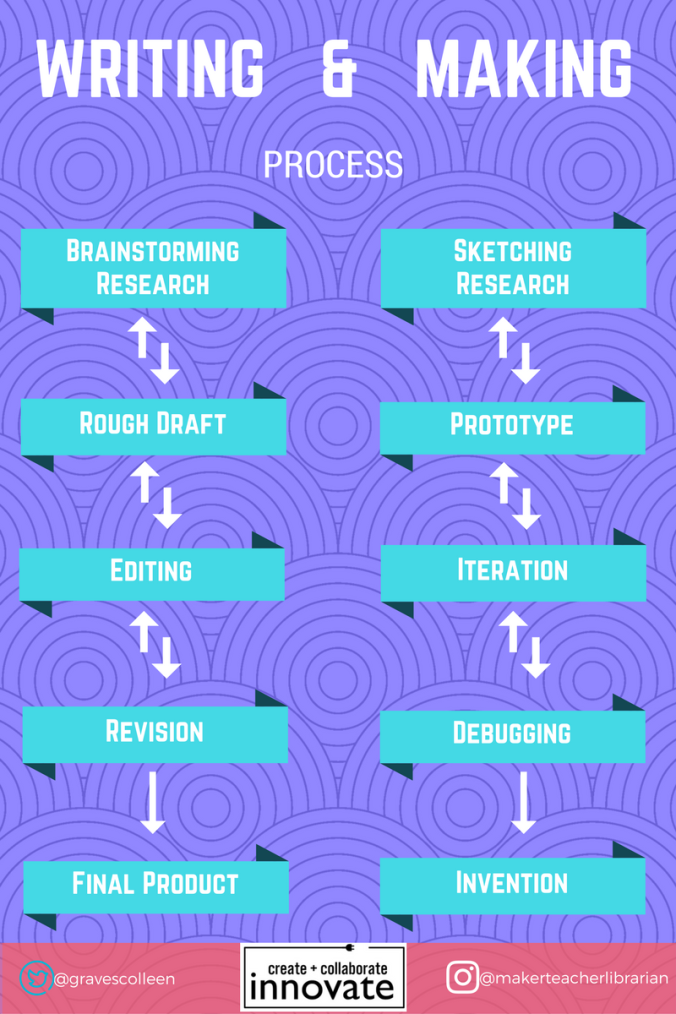
- What is a Makerspace? Short and sweet post with a great downloadable graphic.
- Review of Makey Makey Go and Inventor Booster Kit: This is a review, but also includes a Michael Jackson Makey Makey project.
- Invention Literacy (Part One): The beginning of my journey with creative confidence and one of my favorite research projects of all time.
- Maker Madness: Last February was a hopping time in the Ryan High School Library and Makerspace.
- DIY Chromebook Storage: I bought Chromebooks, but needed somewhere to keep them. This post describes how my ITS Leslie Terronez helped me with some Macgyver-style librarianship.
- Makey Makey Hacked Poetry Month: Combining making and literacy, what’s not to love?! (P.s. I combined this all into one easy peasy shareable resource here.)
- An Intro to Sewing Circuits Affordably: I’m a bit obsessed with circuits and sewing….
- Robotics in the Library – Webinar Wrap Up: Pics of a robotics course by students, plus resources for those interested in adding a robotics component in the library.
- What a Makerspace Can Mean for the Writing Classroom: This post is from my last conference session at NWP, which has to be one of my sessions of all time!
My Favorite Posts
With two books behind me, I’m looking forward to posting more project ideas on this blog. Some of my favorite posts this year are project oriented and some of them are theory. Here are a few of my favorite that you may not have seen yet.
- Light Up Poetry with Chibitronics “Love to Code” Board: While the board isn’t available yet, the Chibi stickers AND copper tape is now available from Mackin along with a plethora of other favorite maker supplies!
- Importance of a School Library in Rural and Low Income Schools: Why school libraries are needed.
- Future of Making: Community-based, Inclusive, and Accessible!
- For the Love of Arduino- Getting Started: My journey with Arduino and a resource for those interested in getting started themselves.
- Learning Scratch in HS 101 – #bigmakerbook: Teaching (aka facilitating learning of….) all of our freshmen and intro to Scratch Programming.
- Makerspace Storage: Makerspace storage is always a changing beast, but clear containers with clear labels are a WIN!

Articles and Book Published in 2016
- Using Invention Literacy for a Research-Based Makerspace Project: Mackin TYSL
- Crafting Professional Development for Maker Educators: Edutopia
- The Process of Hacking the Maker Challenge: Guest post at Follett written with Nicholas Provenzano
- Meet the Maker at Chibitronics: Fun interview with Chibi!
- littleBits, Design Thinking, Design Challenges, and Libraries : Guest post at Demco
- Getting Buy-in for Your Makerspace : Guest post at Demco
- An Interview with Jeff Zentner : Guest post on Nerdy Book Club
The Big Book of Makerspace Projects came out in October 2016. It’s been a blast to see its warm reception by makers and librarians alike. Aaron and I would love to see what you are making from it, so make sure you tag your creations with #bigmakerbook to share with our growing maker community!

To Be Published 2017
Maker Theory Book
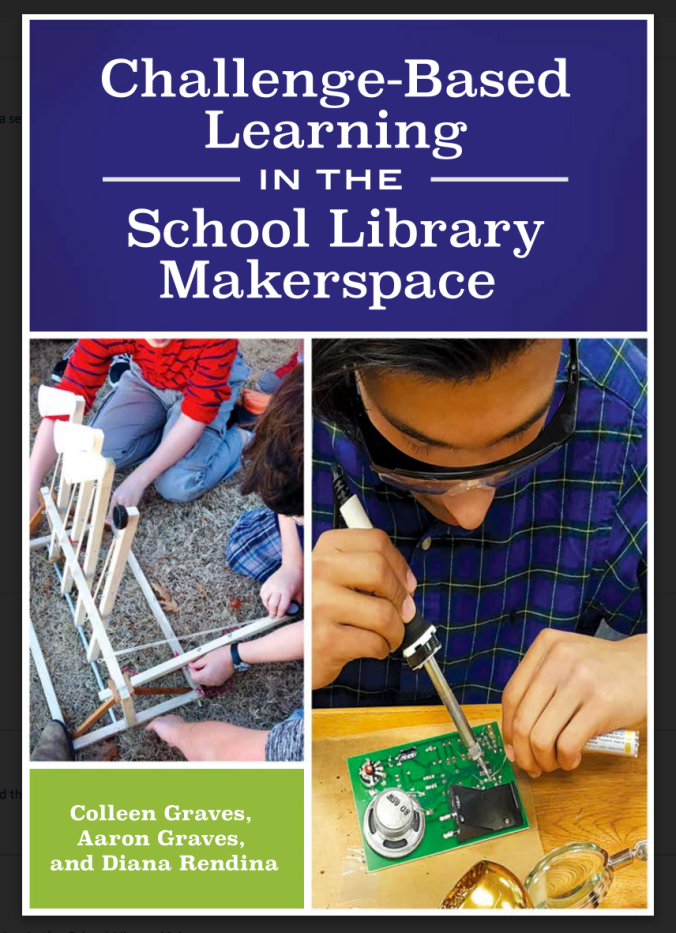
Aaron and I have TWO books coming out in 2017! First a theory book that led to a lot of interviews with great tinkerers, makers, and librarians co-written with the awesome Diana Rendina. It should be out late summer and is being published by ABC Clio.
Challenge- Based Learning in the School Library Makerspace
Maker Project Book
Aaron and I are having a blast making and combining project ideas for this Makey Makey focused book that will be a part of the Evil Genius series published by TAB DIY (a McGraw Hill imprint)! Projects will range from simple to complex and really take you and your Makey Makey #beyondthebanana! You can pre-order the book now, but you’ll have to wait until the summer to start Makey Makey-ing these projects!
20 Makey Makey Projects for the Evil Genius


